Data Uploader
The Data Uploader on the BuildingMinds platform is designed to simplify data management, reduce manual entry, and minimize errors.
Access Data Uploader
Click on Tools.
Select Data uploader.
To use Data uploader, read the Onboarding template to understand the guidelines.
Access Onboarding template
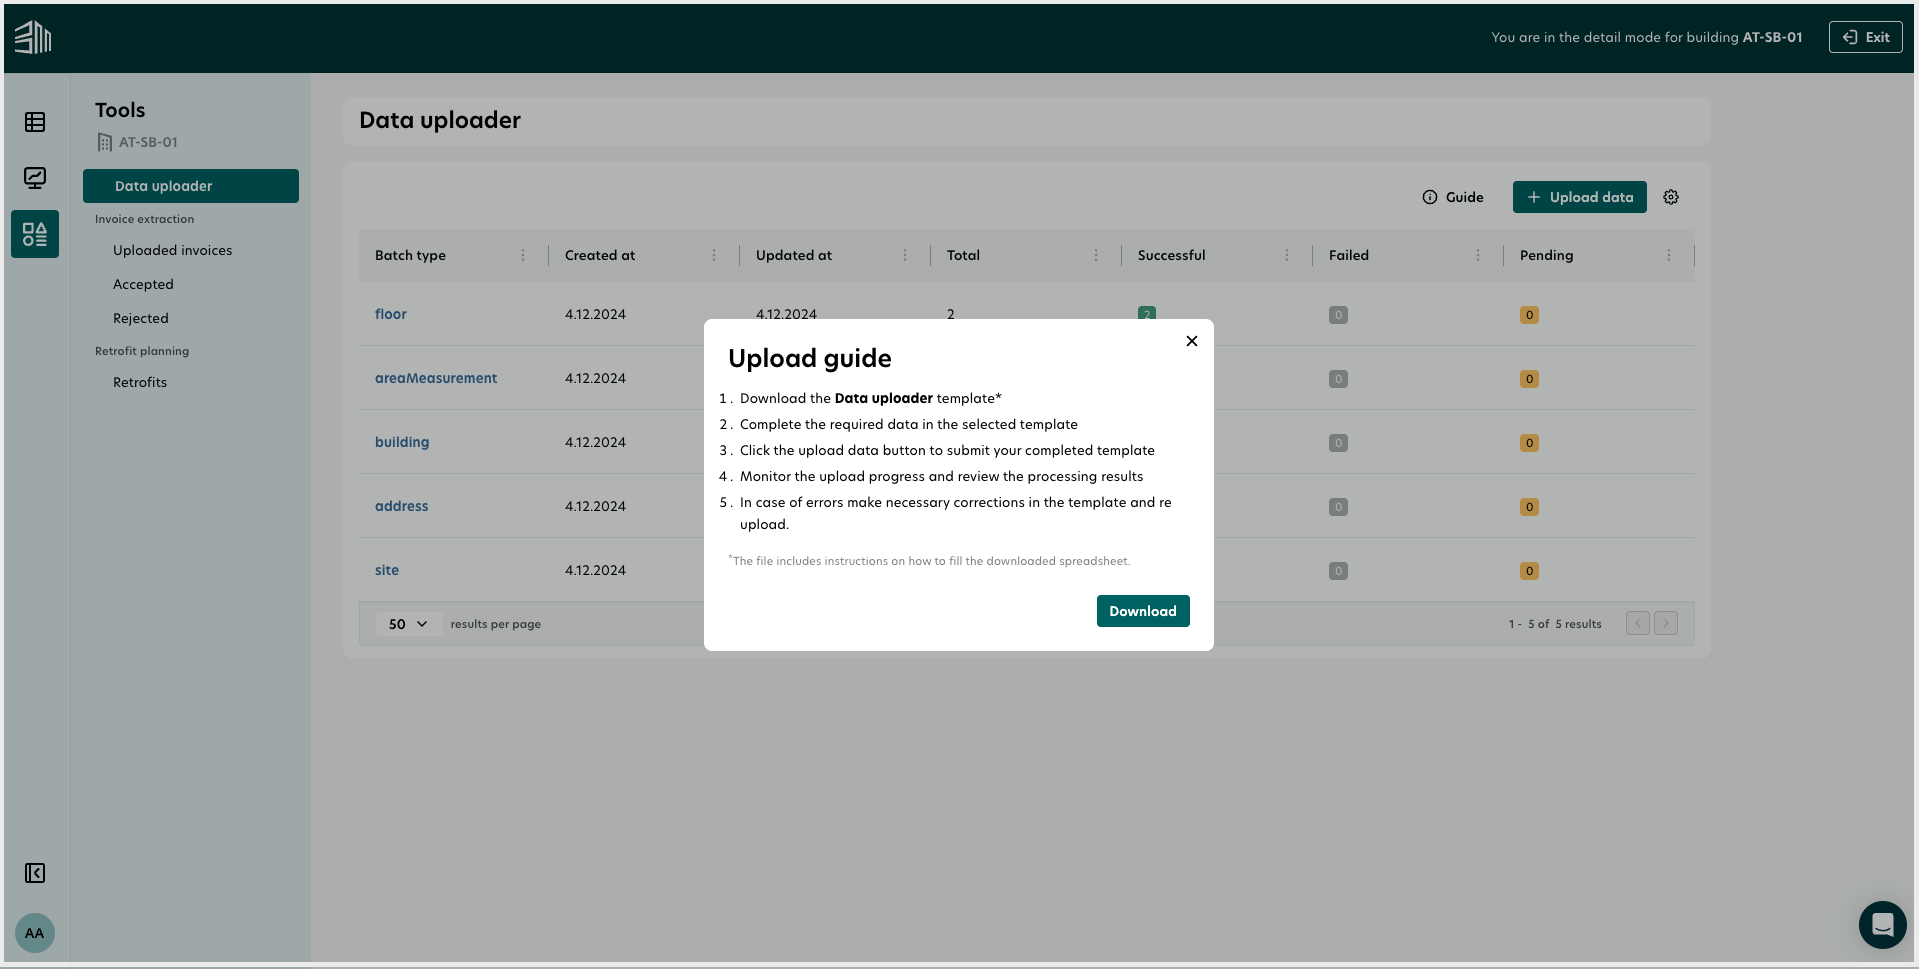
In the upper right corner, click on Guide. A banner displaying the upload instructions will appear.
Click the Download link to get the Onboarding template.

The Onboarding template has information that ensures all formats, IDs, and required data points are correctly filled in.
Upload Data
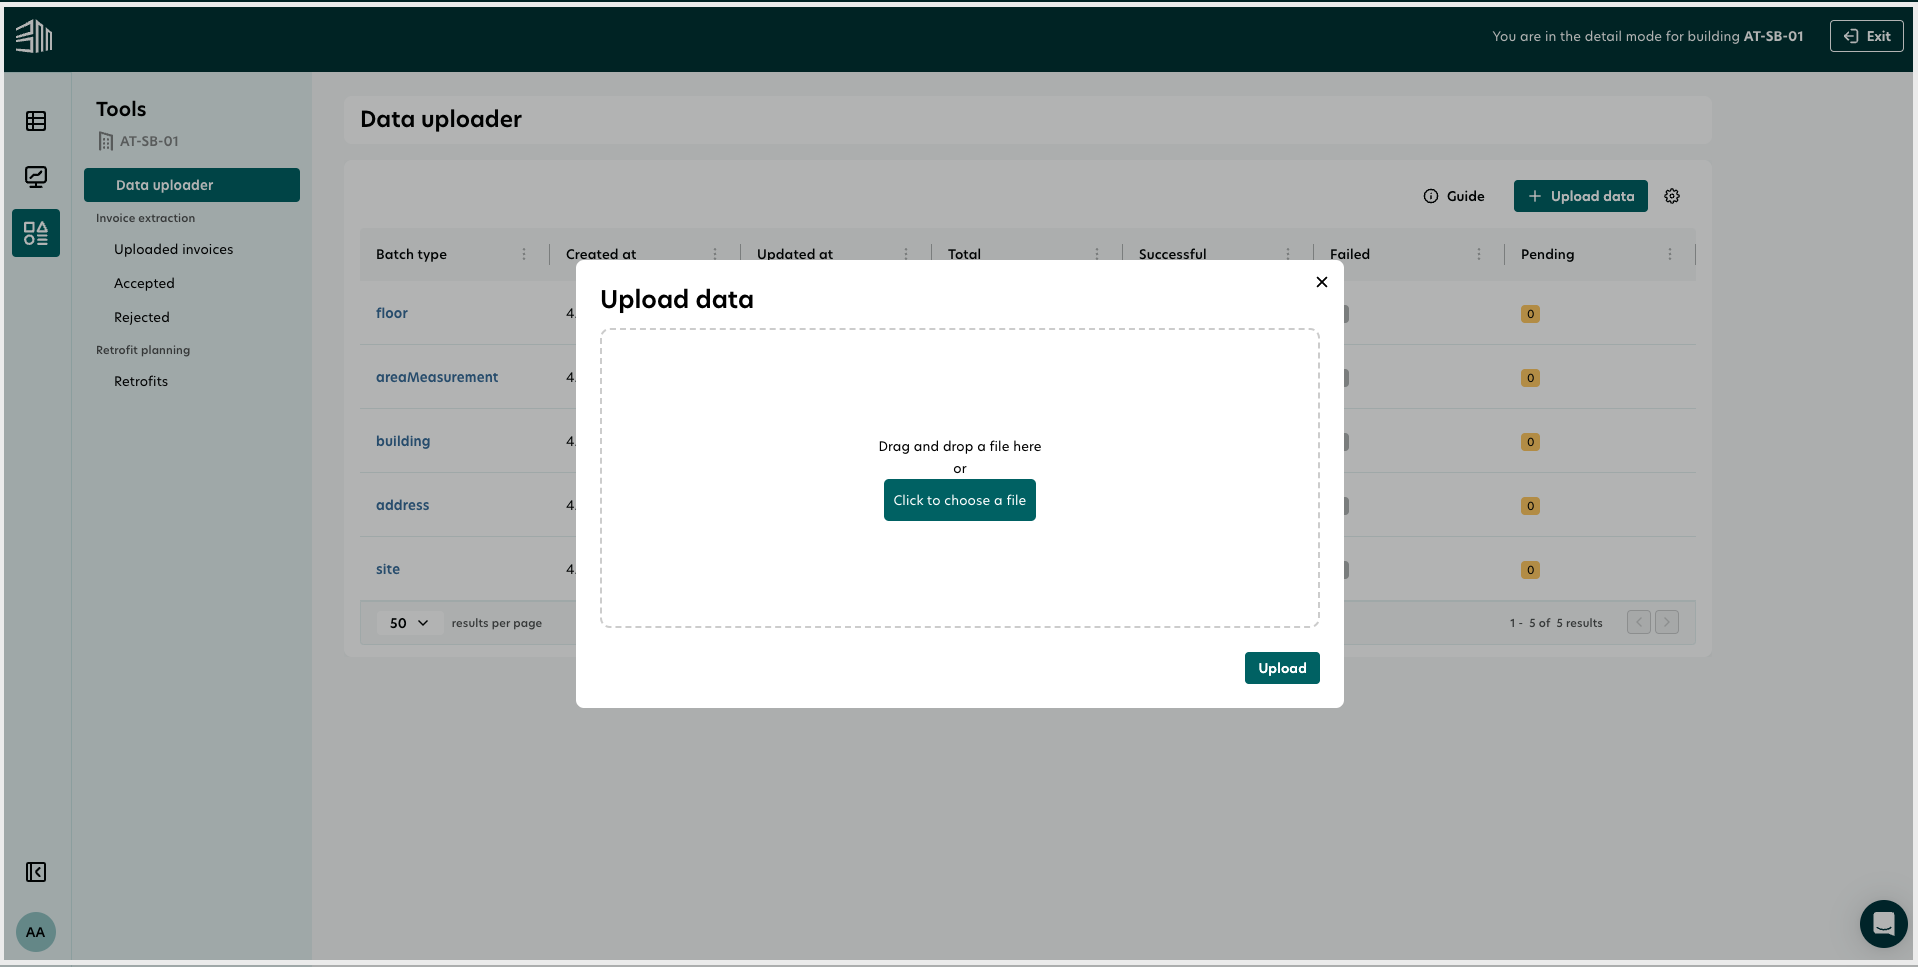
Click the Upload data button or drag and drop your file directly into the window to upload the sheet.
After clicking Upload, a notification will appear indicating whether the upload was successful or failed due to an error.

Monitor Uploaded Data Points
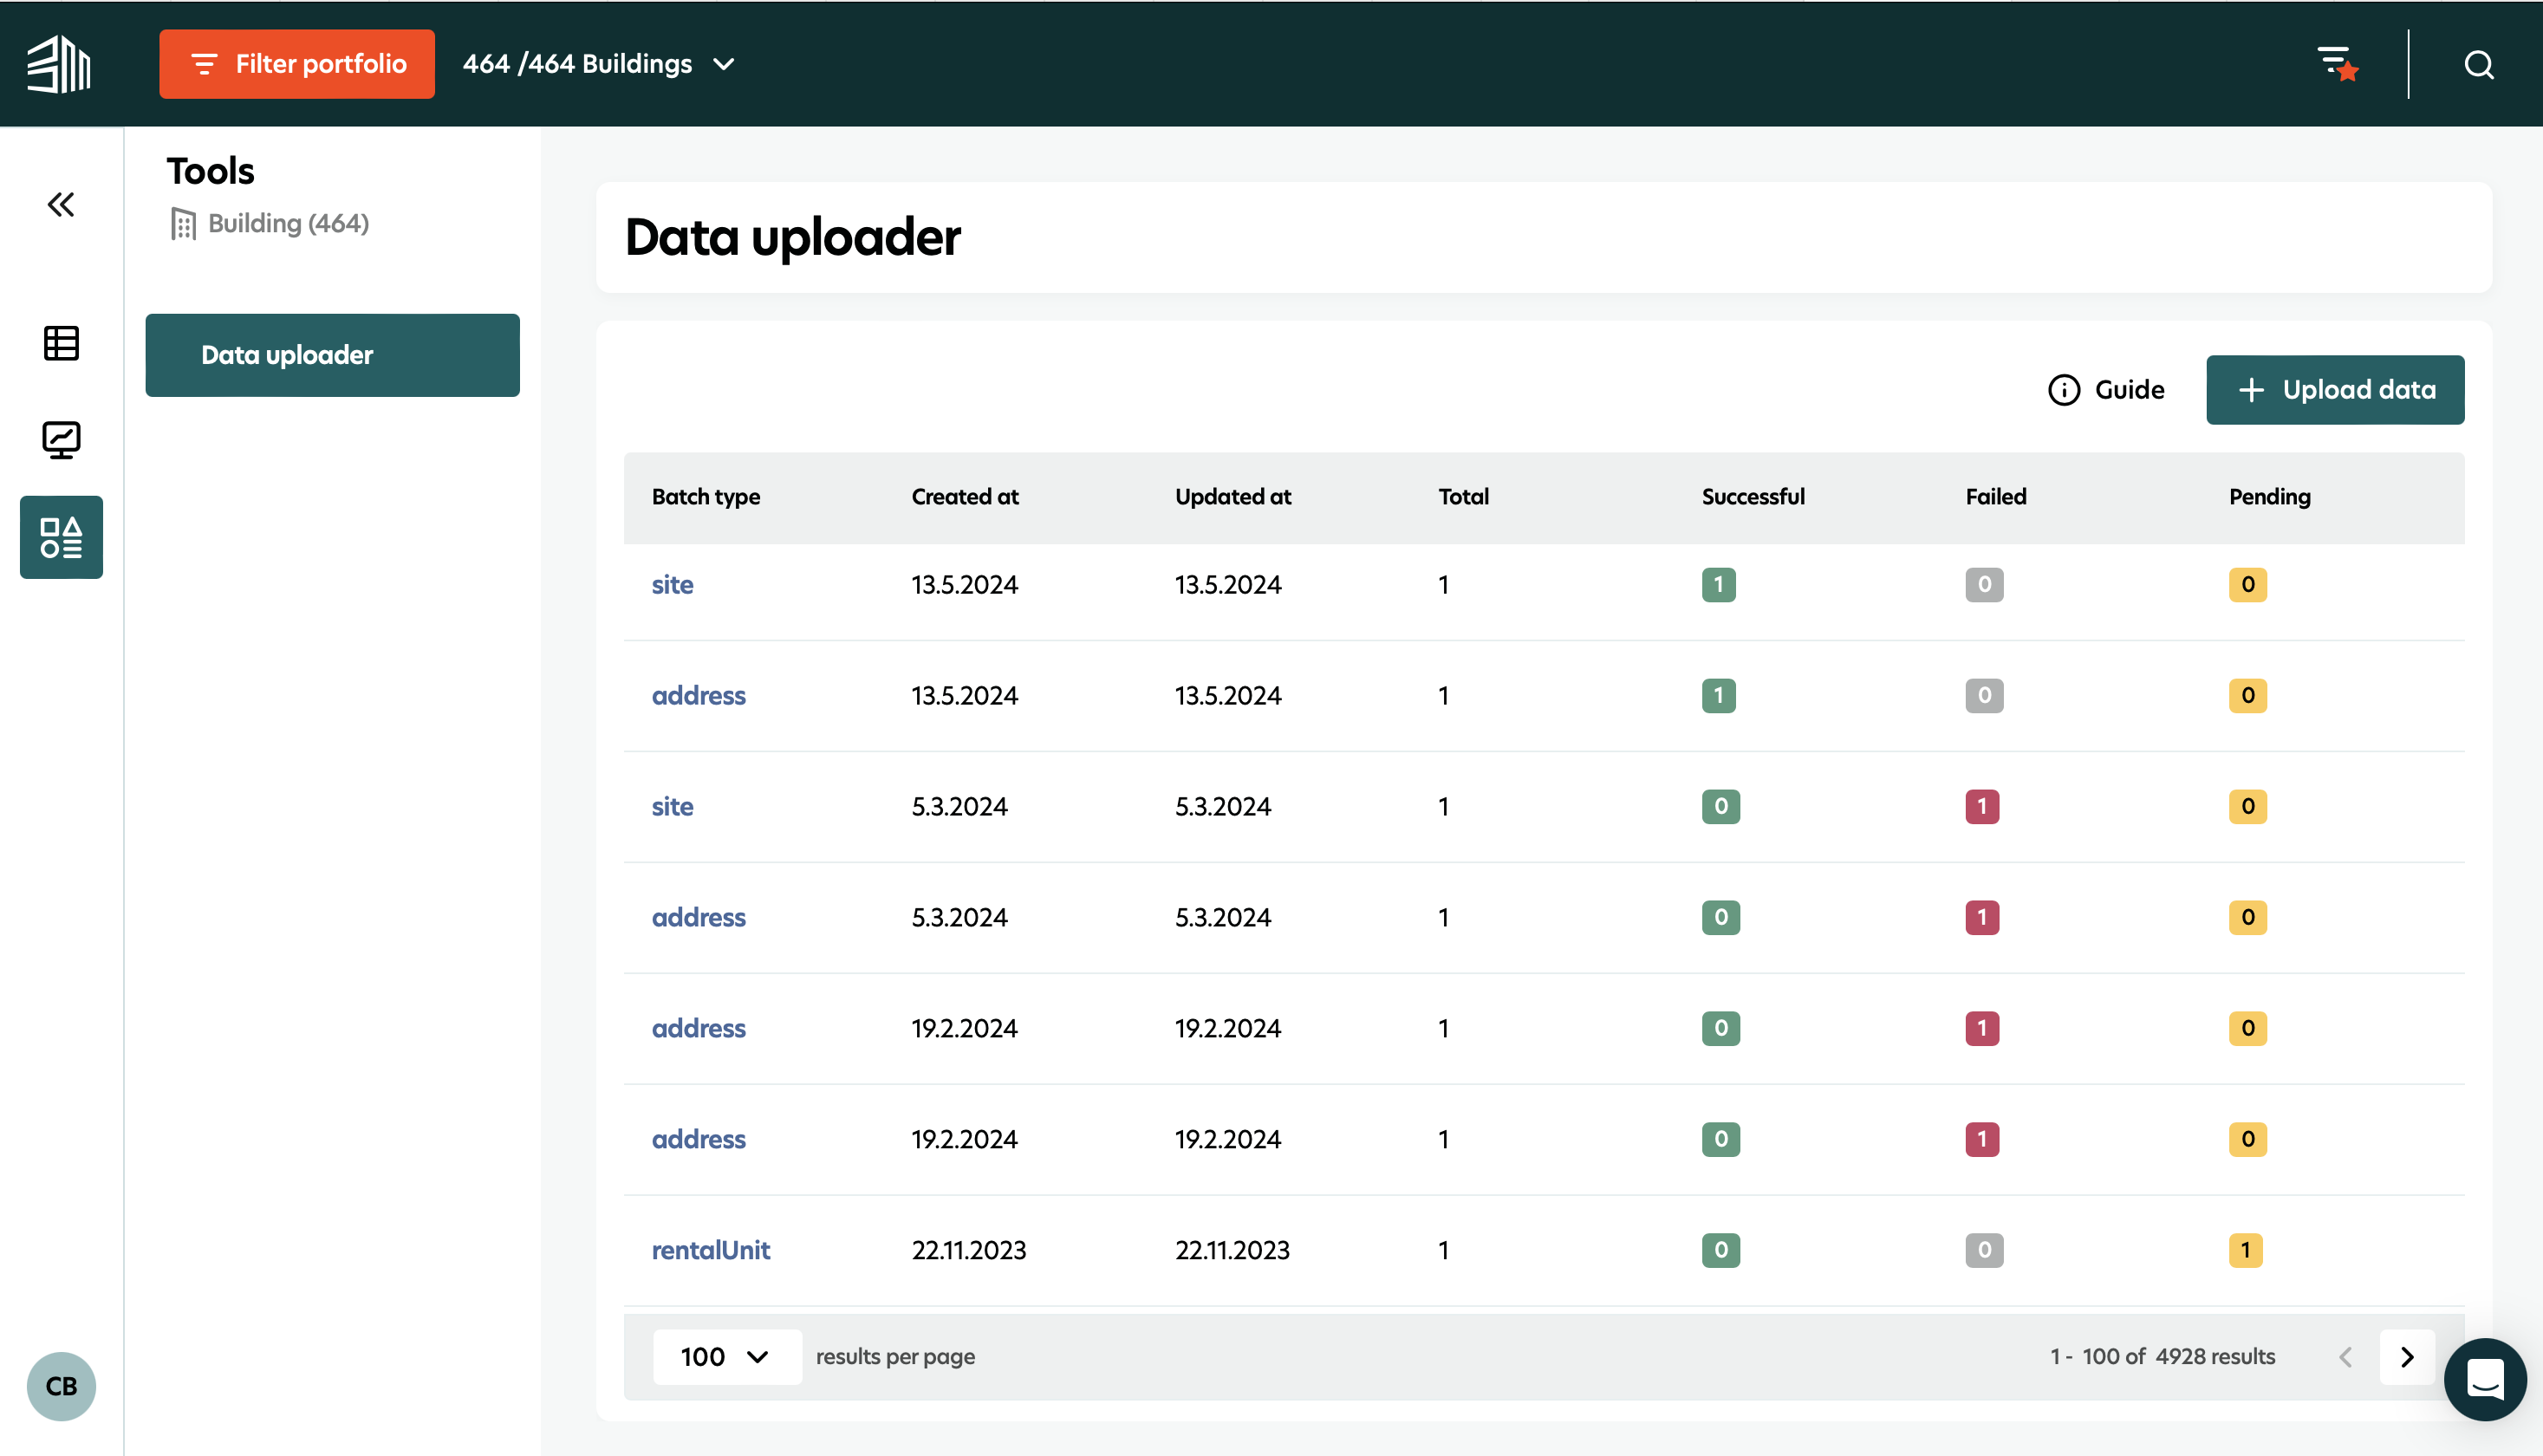
The user interface will display all the uploaded data points. Initially, messages will appear as pending and will transition to successful over time.

Handling Errors
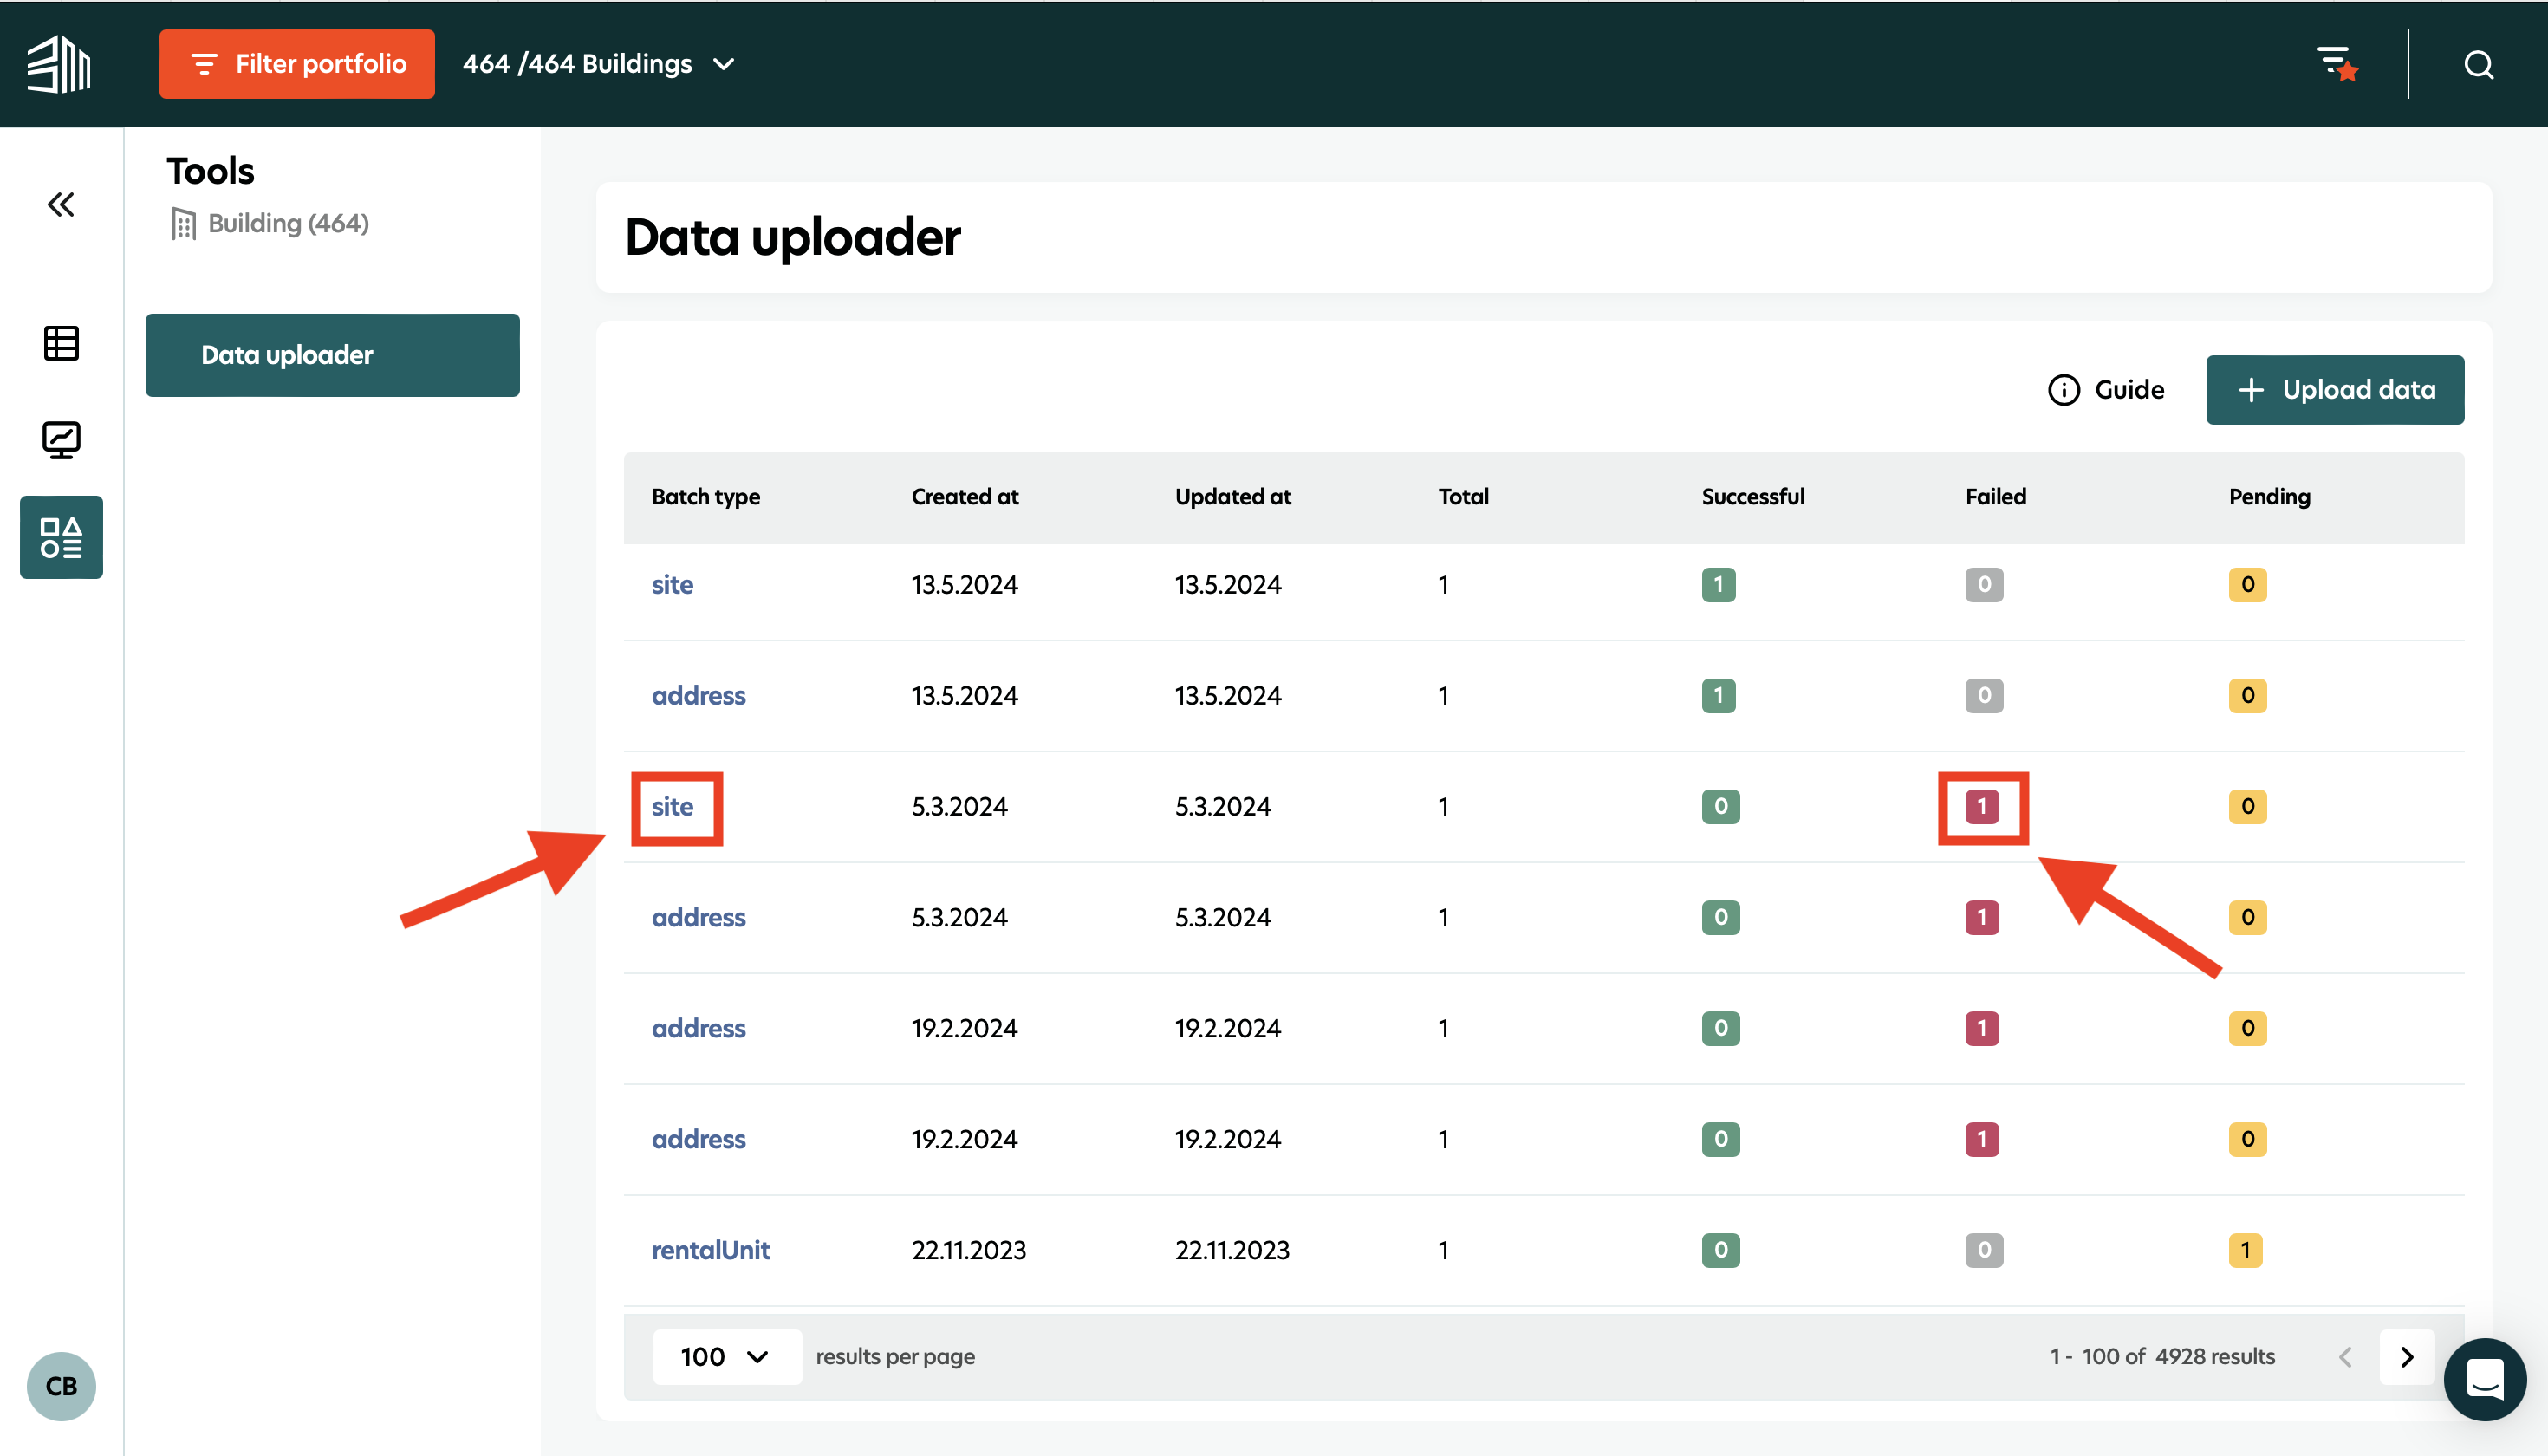
If a message fails, click the respective blue batch type to view the error.
Select View to see the detailed error message.
Correct any errors in the onboarding sheet and re-upload it.

After successful onboarding, all sites, buildings, area measurements, etc., will be visible on the platform. Please ensure you have the necessary authorization settings to see all the uploaded buildings.
Video tutorial - Data uploader
Here is a video tutorial to walk you through how to use Data uploader.
By following these steps, you can efficiently manage and upload large sets of data, ensuring accuracy and improving the efficiency of your data management processes on the BuildingMinds platform.