Vacancy rate management
The Vacancy rate management feature allows users to create, view, edit, and delete vacancy rates for buildings. After any action—creating, editing, or deleting a vacancy rate—the data is synchronized with the reporting layer, ensuring up-to-date reporting and analysis.
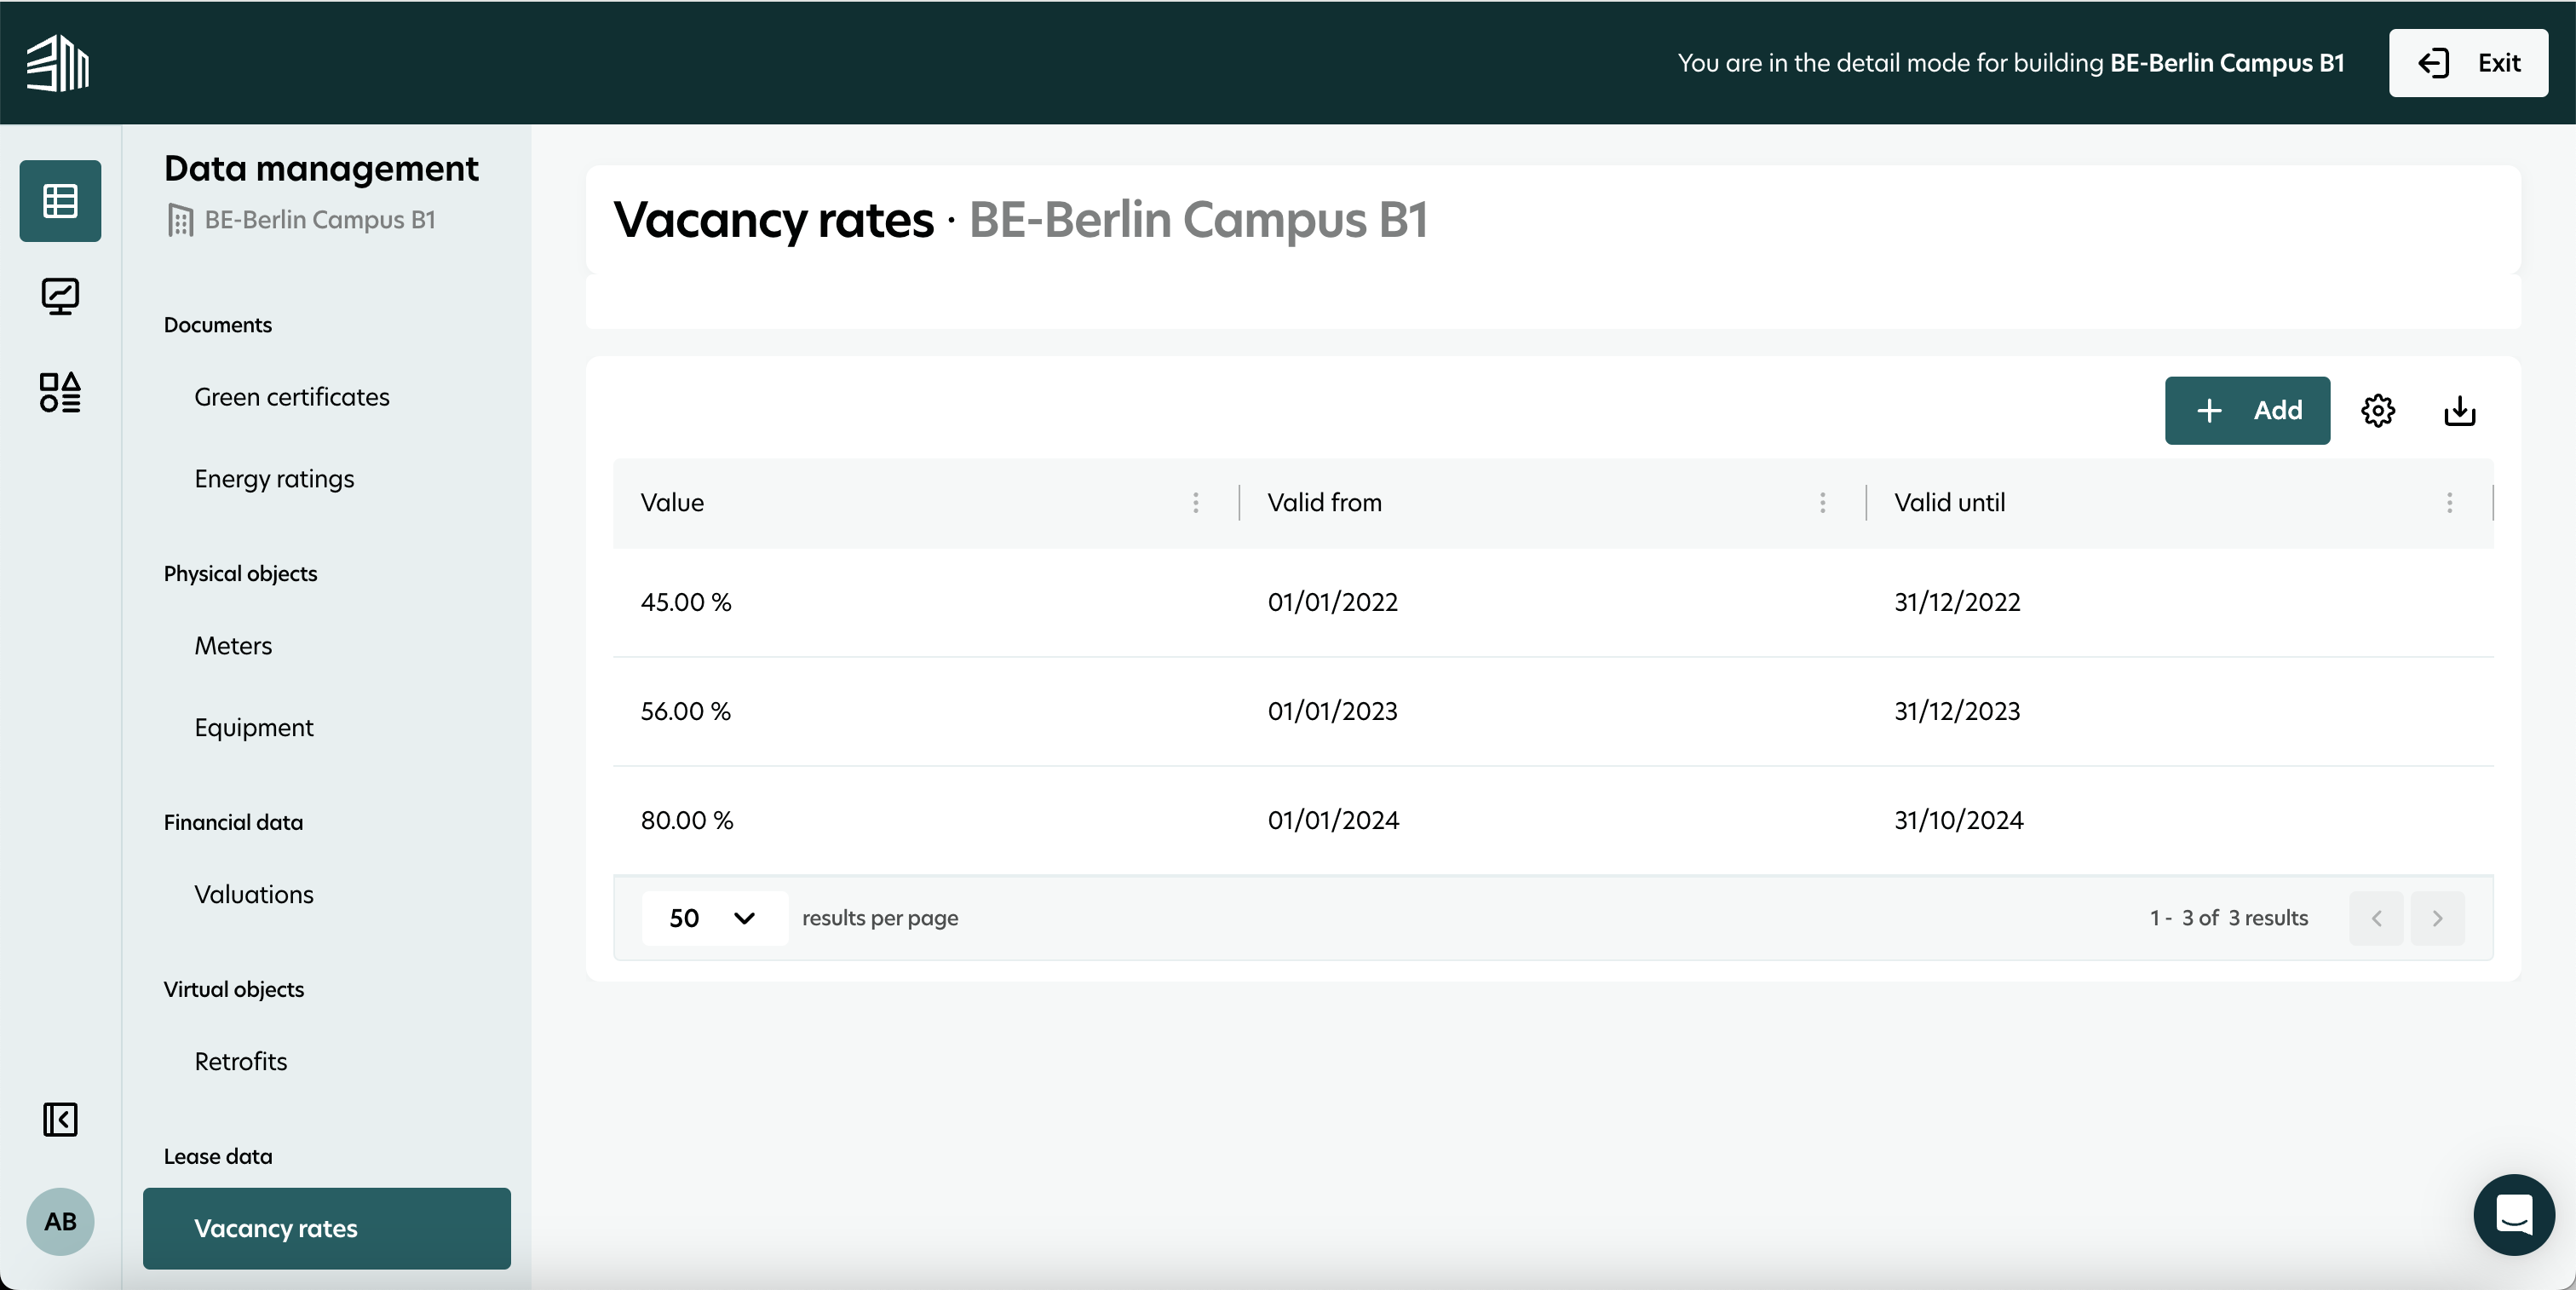
Access Vacancy rate
To view the list of vacancy rates for a building:
Select the Data management icon from the left menu.
Choose a building from the list.
Navigate to Lease data > Vacancy rates in the left menu.
The vacancy rates list displays basic information such as rate values and validity dates. Users can sort and filter the list by any column for easier management.
Permissions for managing vacancy rates align with permissions for buildings. For example, users without edit permissions for a building will not be able to edit its vacancy rate data.
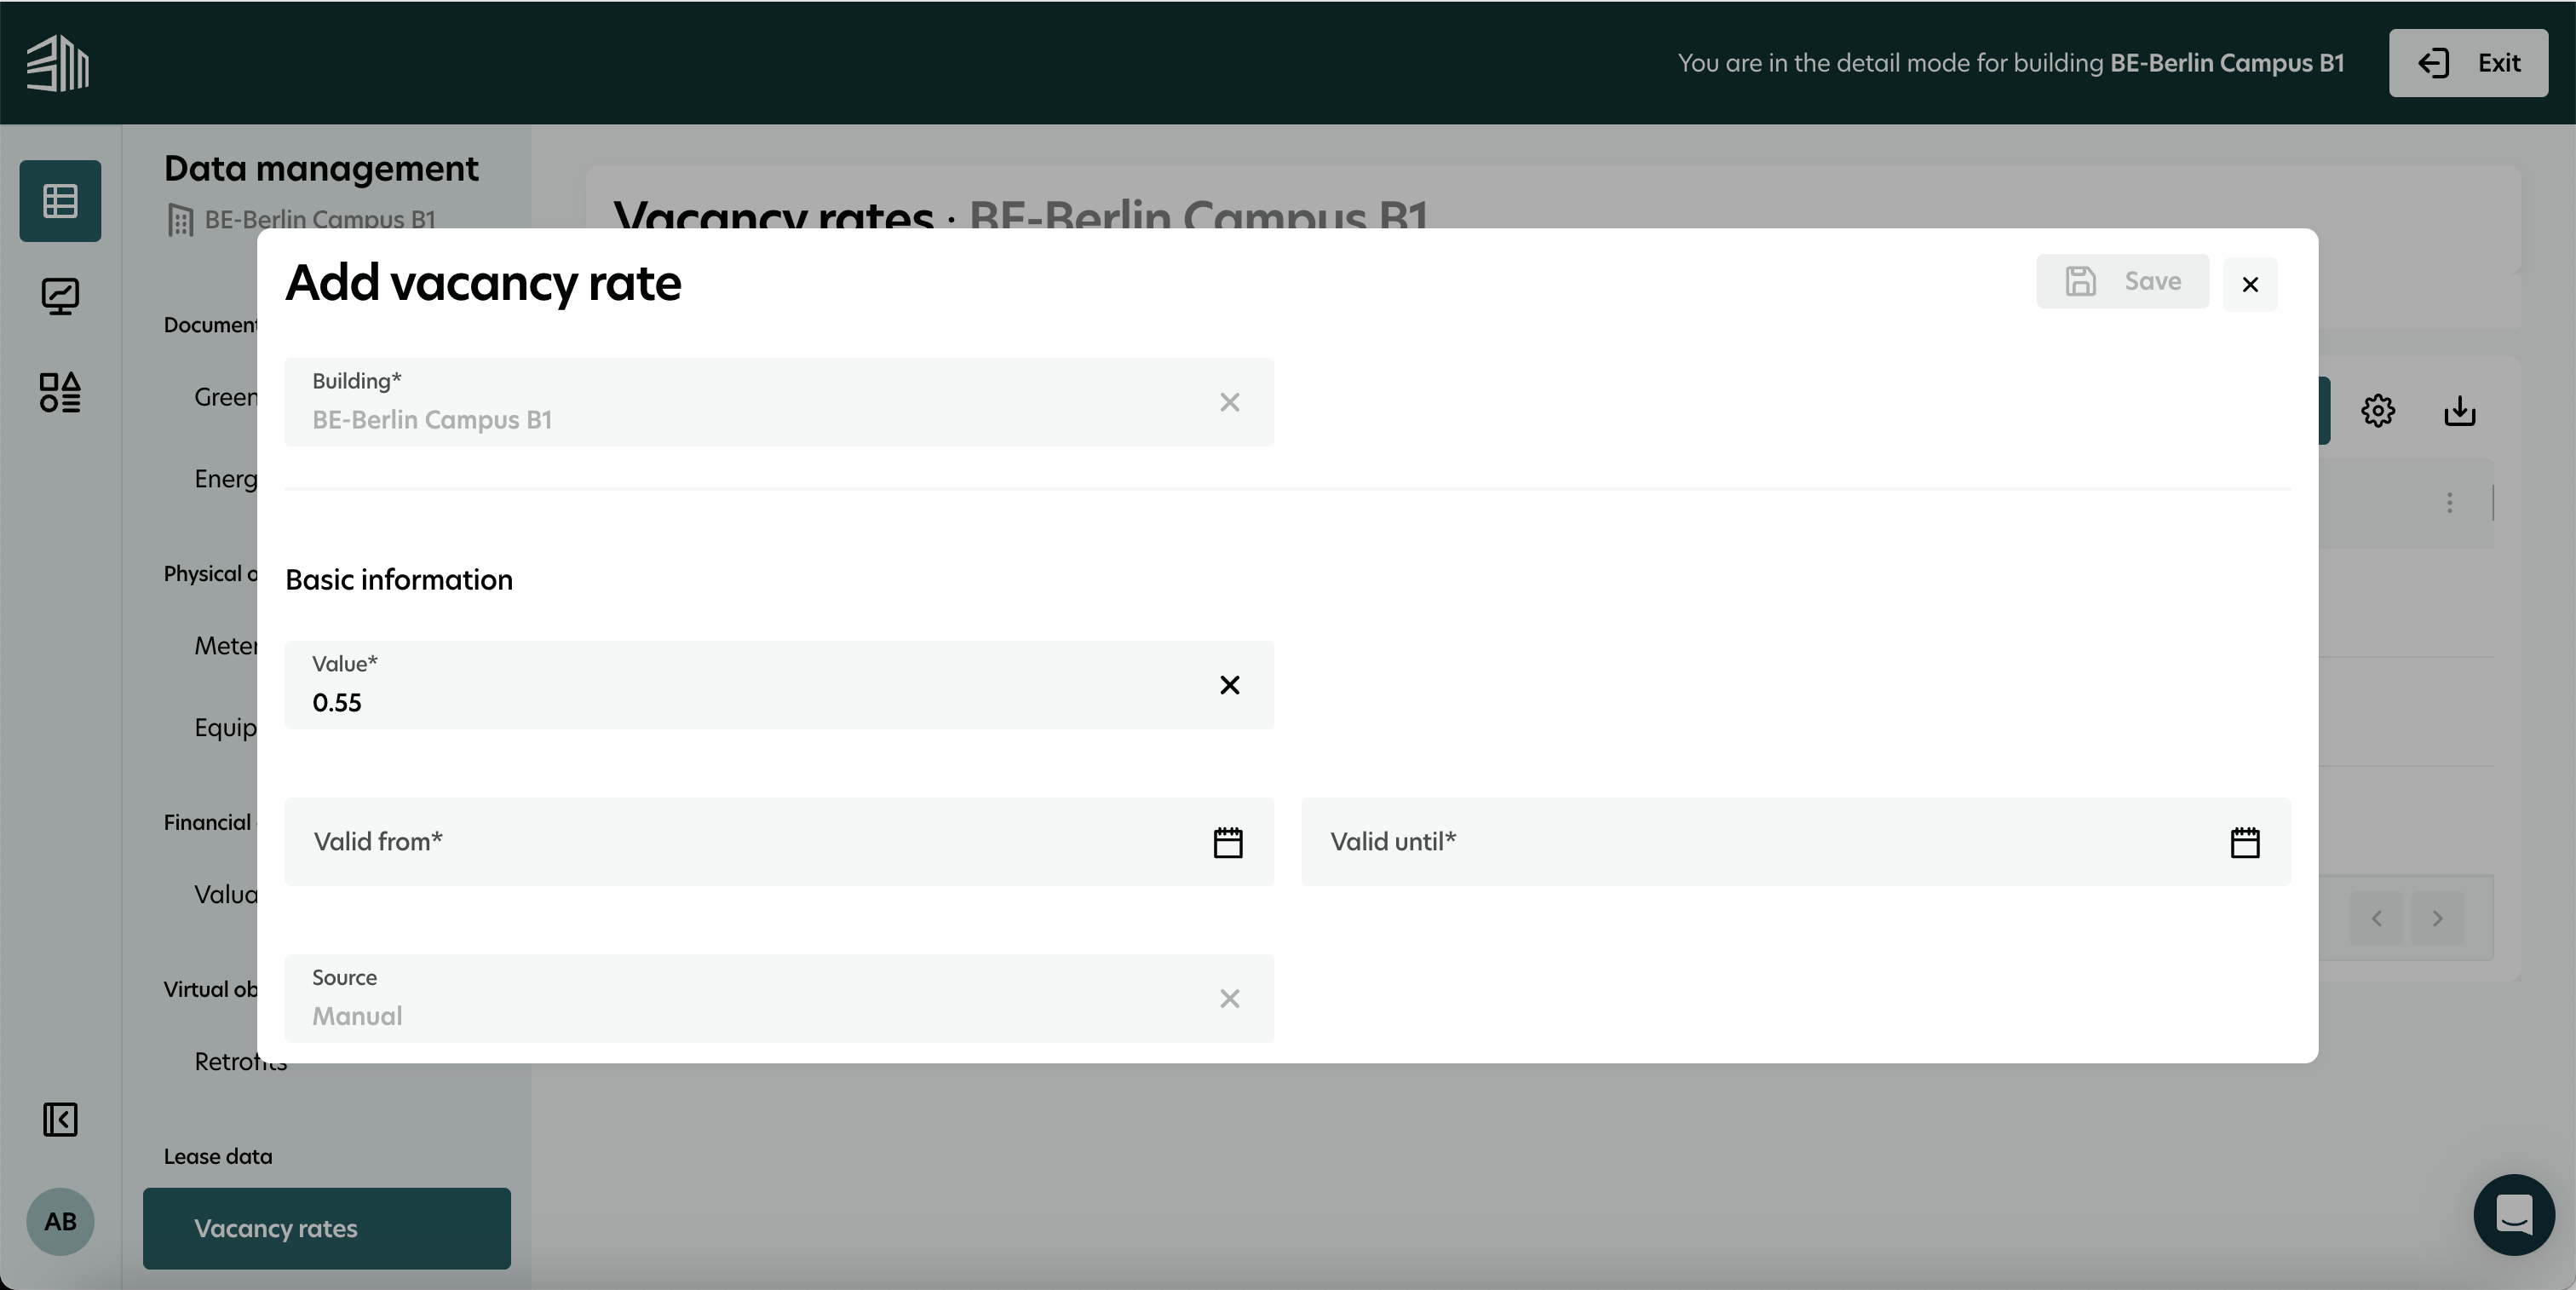
Add Vacancy rate
To create a new vacancy rate:
Select the Data management icon in the left menu.
Choose a building from the list.
Navigate to Lease data > Vacancy rates.
Click the + Add button above the list.
Fill in all mandatory fields in the form.
Click Save.
A confirmation notification will appear, and the new vacancy rate will be added to the list.
View Vacancy rate
To view detailed information for a specific vacancy rate:
Navigate to Lease data > Vacancy rates for the selected building.
Click on the row of the desired vacancy rate to open its detail page.
Use the Back button in the upper-right corner to return to the list.

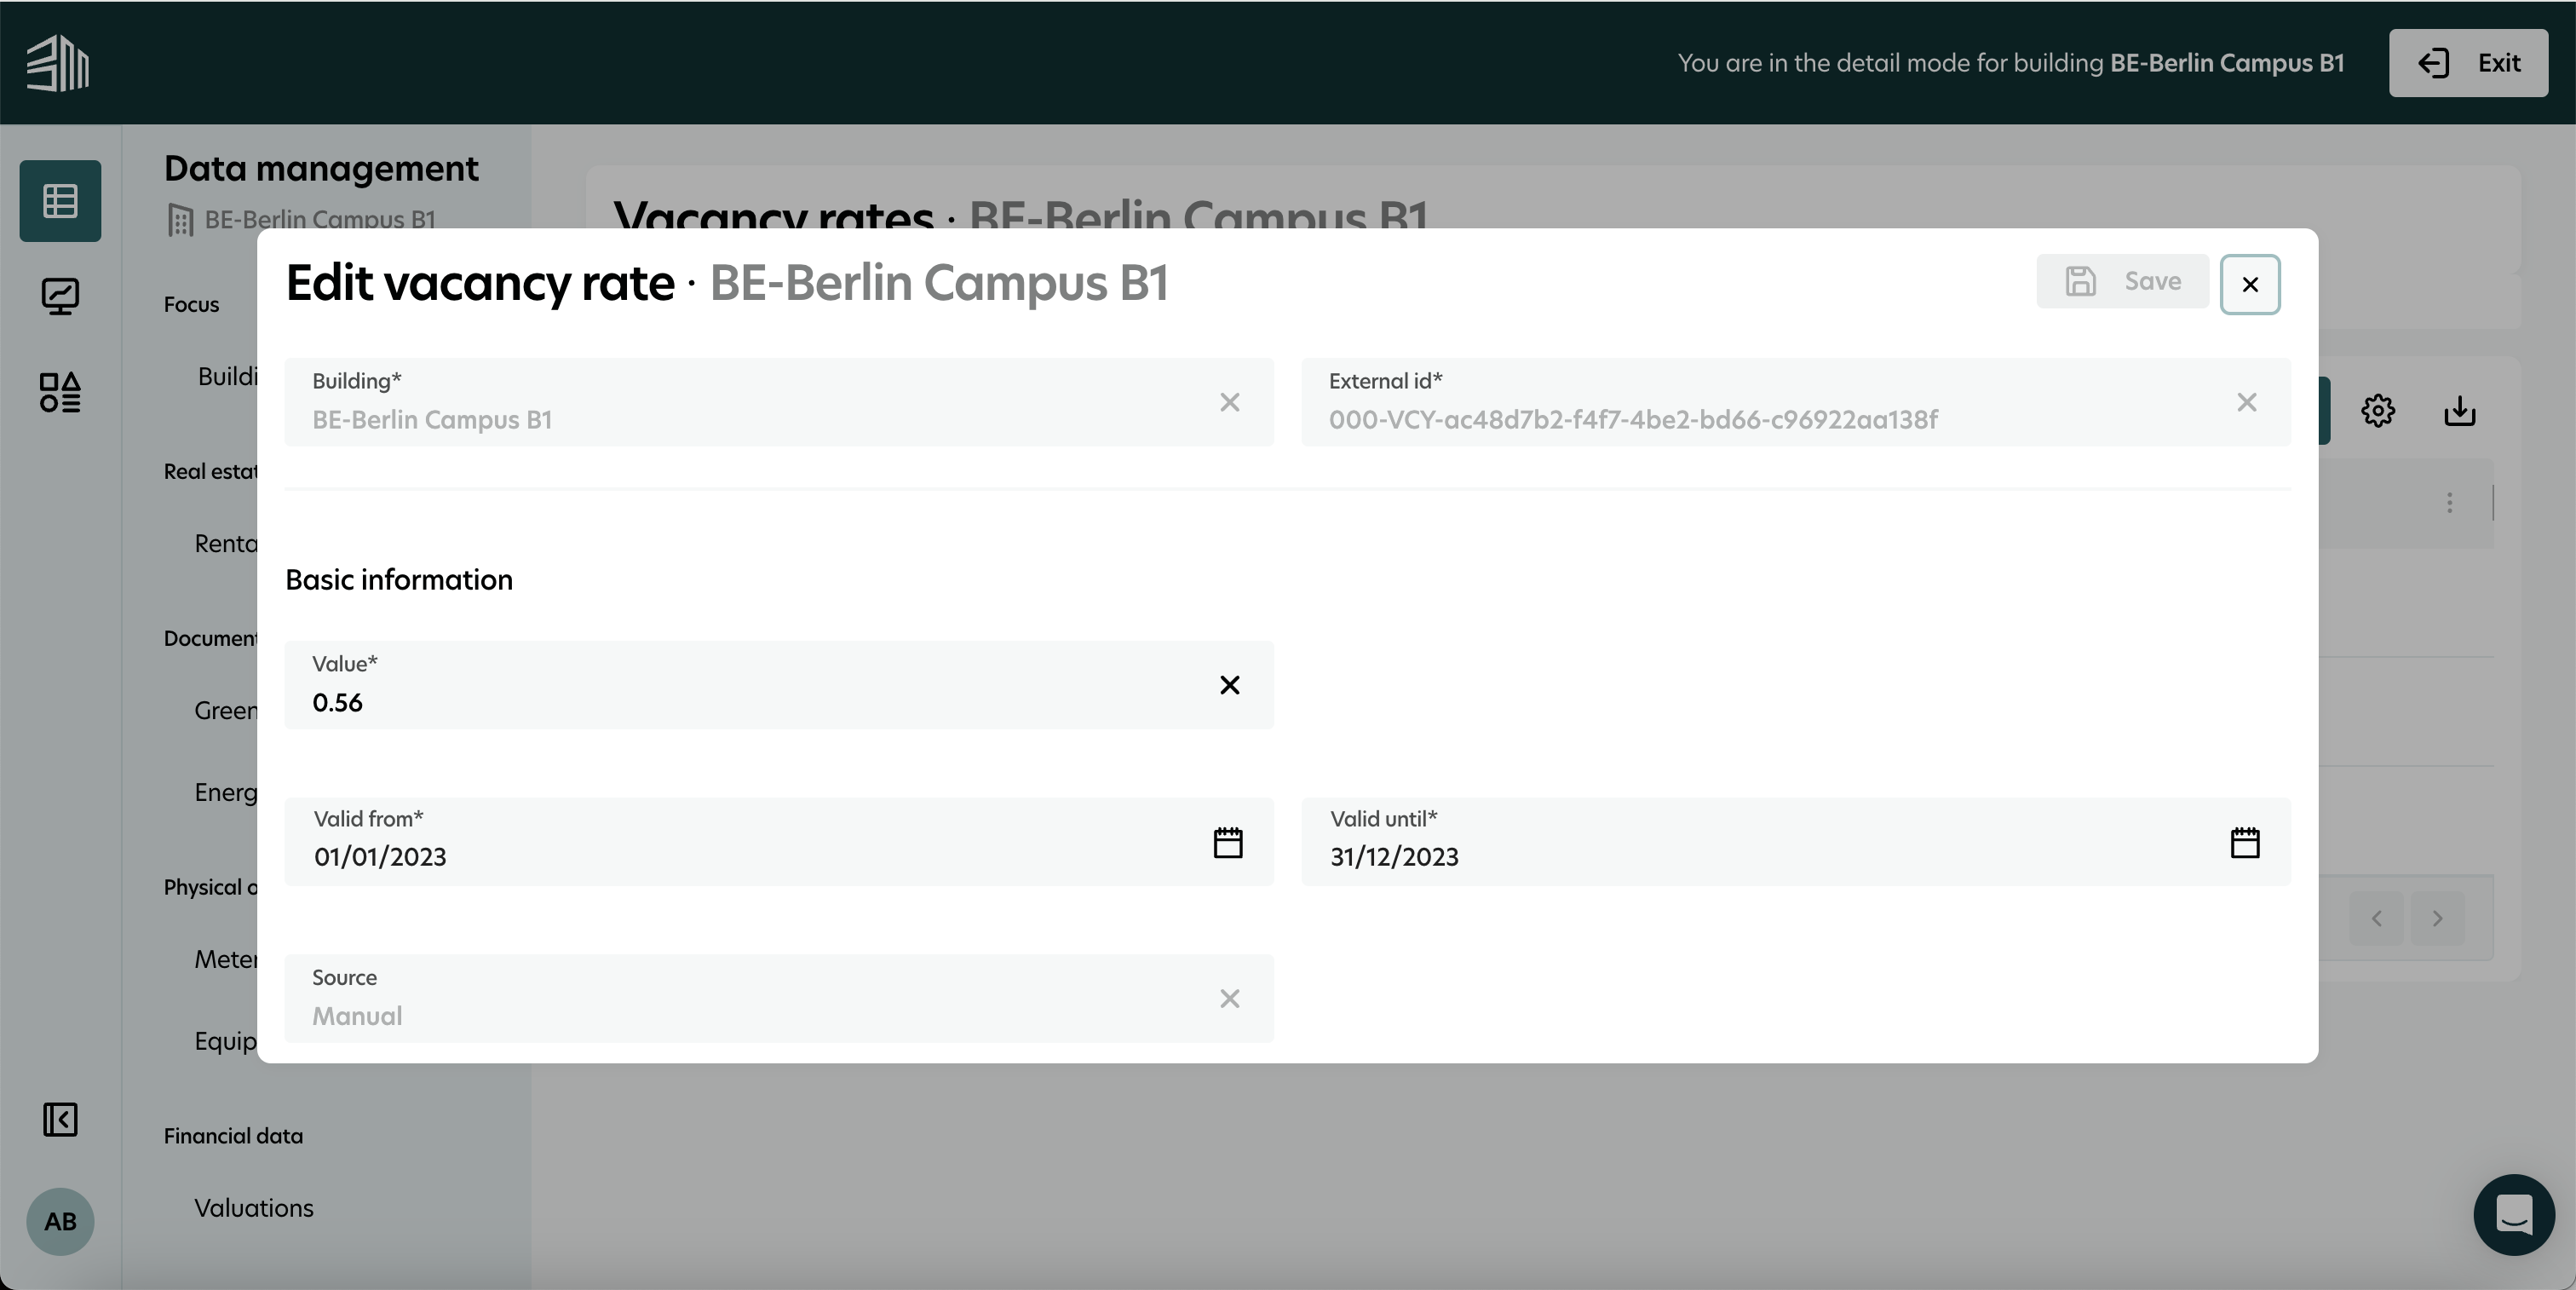
Edit Vacancy rate
To edit a vacancy rate, you have two options:
Option 1:
Open the detail page of the vacancy rate.
Click Edit in the top right corner.
Make necessary updates.
Click Save to confirm.
Option 2:
Hover over the vacancy rate row in the list.
Click the Edit icon.
Make necessary updates.
Click Save.
If any required fields are removed during editing, the system will prevent saving until corrections are made.
Delete Vacancy rate
To delete a vacancy rate:
Hover over the row of the vacancy rate in the list.
Click the Delete icon.
Confirm the deletion in the prompt.
A notification will confirm that the vacancy rate has been successfully deleted.

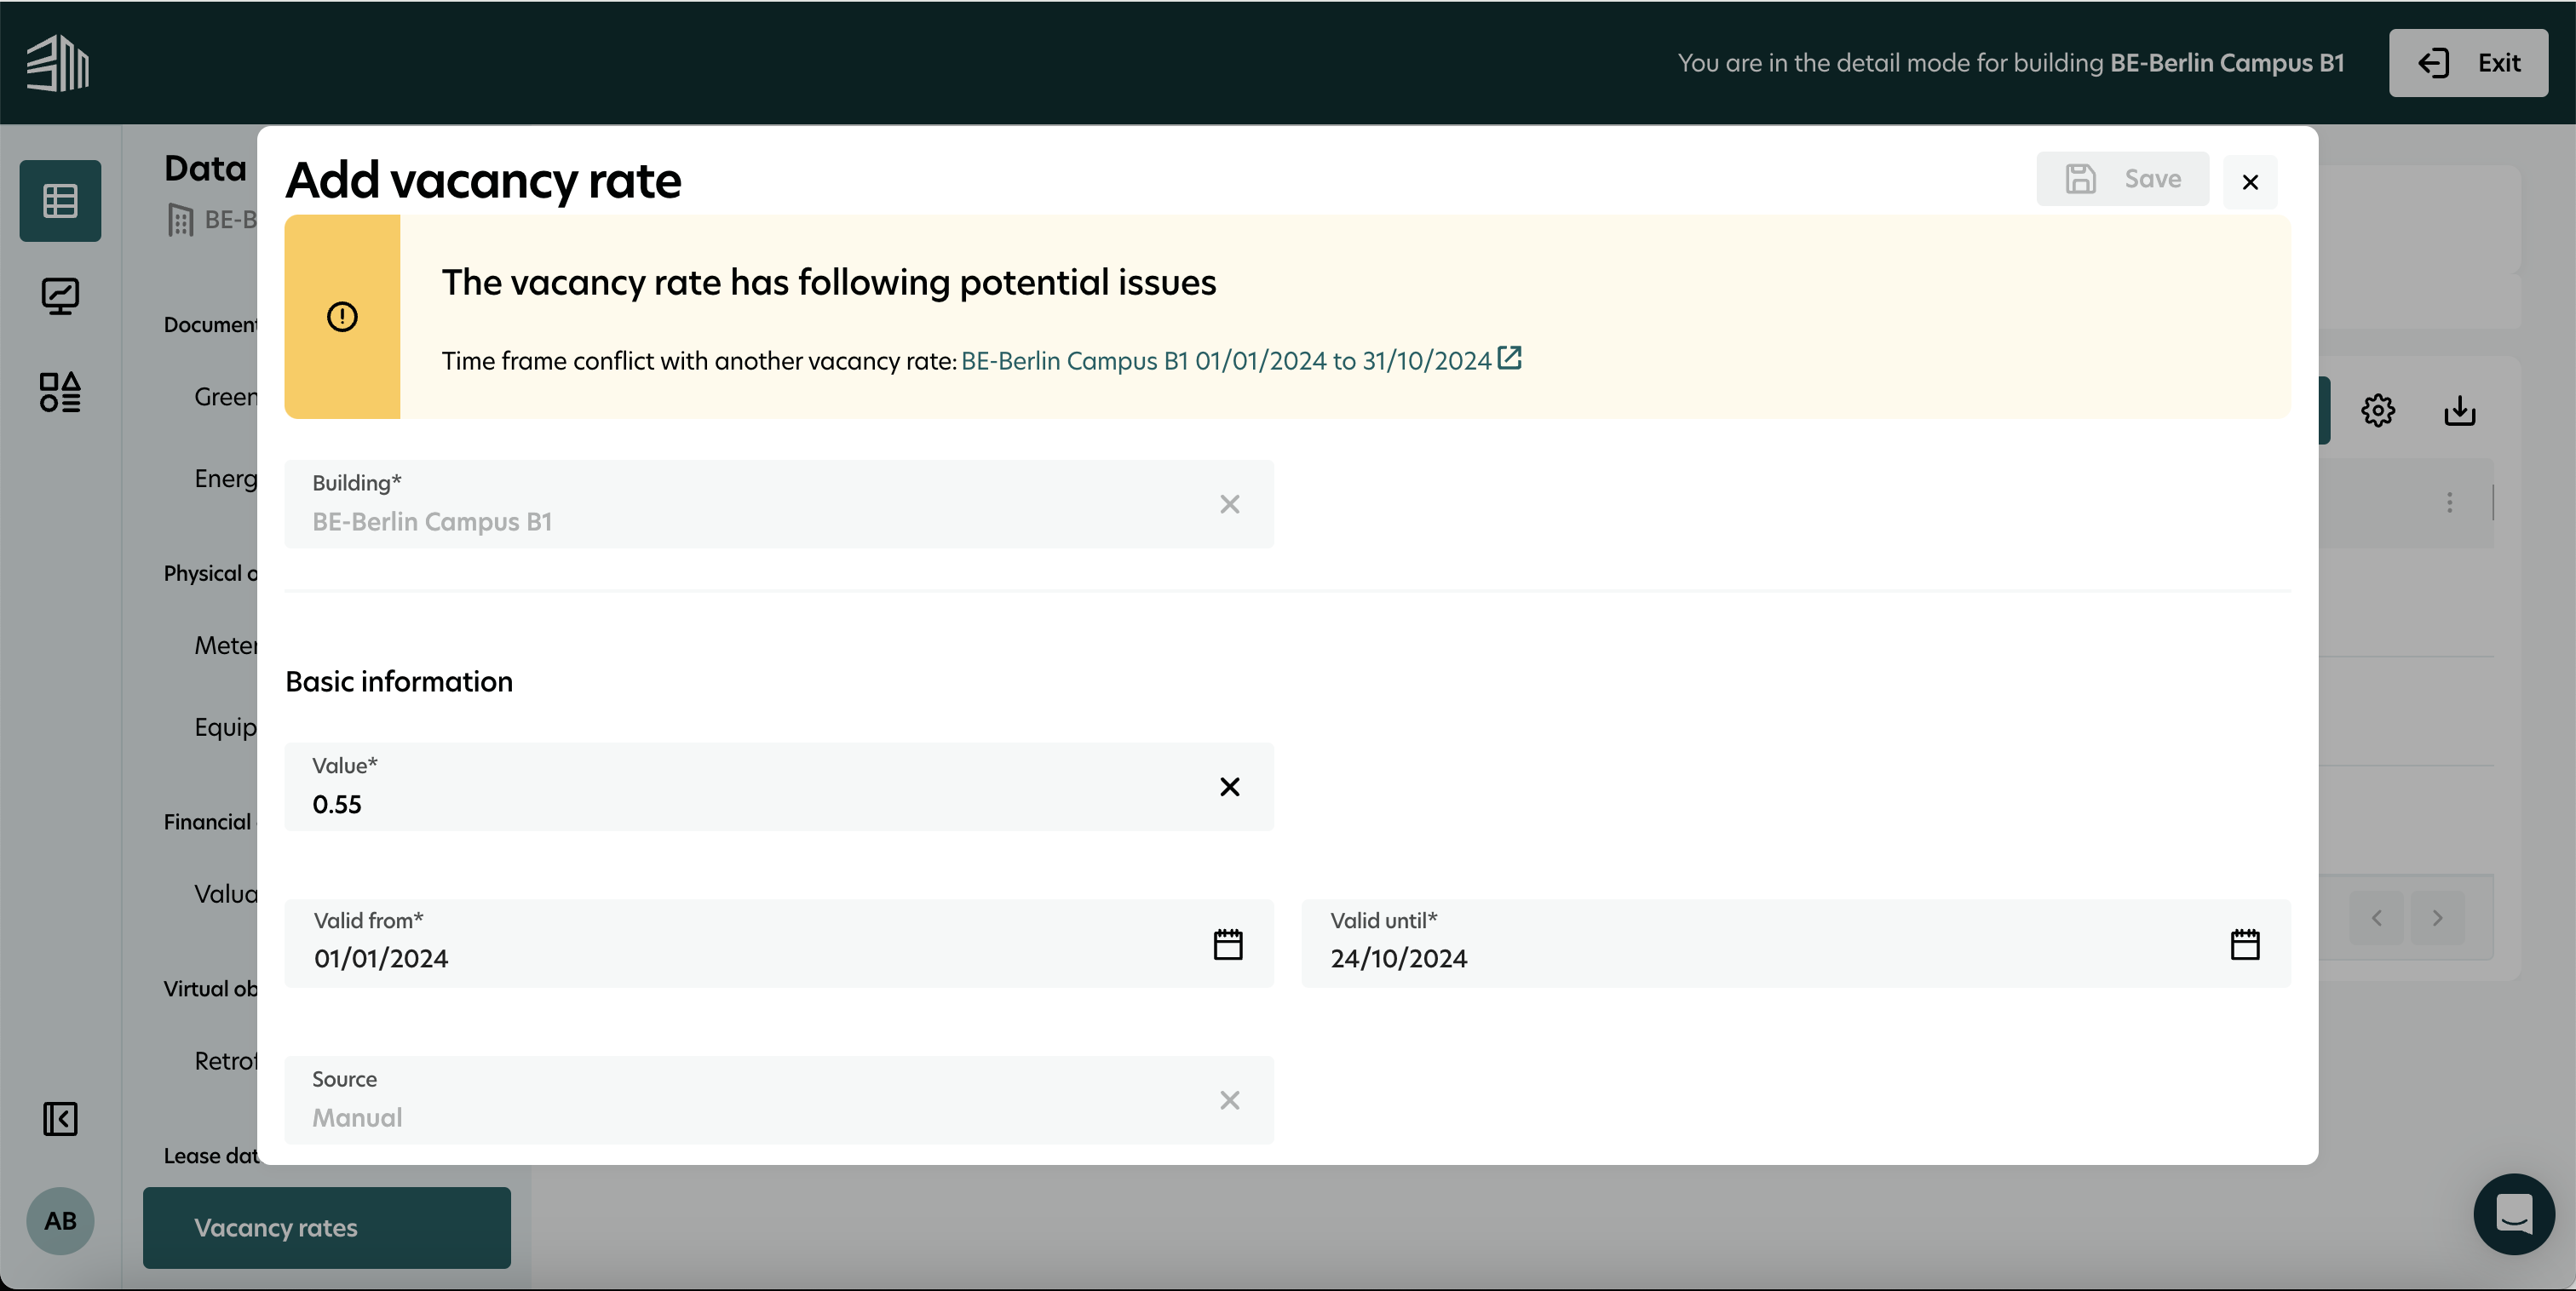
Validation to prevent overlapping data
When users create or edit vacancy rates, the system checks for overlapping data entries. If there is an overlap with an existing vacancy rate for the same building:
A warning is displayed, prompting users to correct the data before saving.
Users can either adjust the new or edited vacancy rate or click the link in the warning to open and modify the conflicting entry.
This validation prevents overlapping vacancy rate entries, ensuring accurate data for reporting.
Feature permissions
The Vacancy rate management feature is subject to specific permissions that control user access and actions. These permissions are managed in the Authorization service.
Permission Level | Access Details |
|---|---|
None | The Vacancy rates feature is not visible in the left menu. |
Read-only | You can see the Vacancy rates feature and access the list. The Add button is hidden. Edit and Delete buttons are hidden on hover. |
Read + Edit | You can view and edit vacancy rates. The Add button is hidden. The Edit button is visible on hover, while the Delete button remains hidden. |
Read + Edit + Add | You can add new vacancy rates in addition to viewing and editing them. The Add and Edit buttons are visible. The Delete button remains hidden. |
Read + Edit + Add + Delete | Full access to the Vacancy rates feature. The Add, Edit, and Delete buttons are all visible. |